Morphological
The Morphological post processing steps are used to modify the shape and boundaries of classified objects. Examples include fill holes in classified tissue, remove noise, separate merged objects and erode or dilate objects. This section describes what each Morphological step does and how they can be configured.
Erode
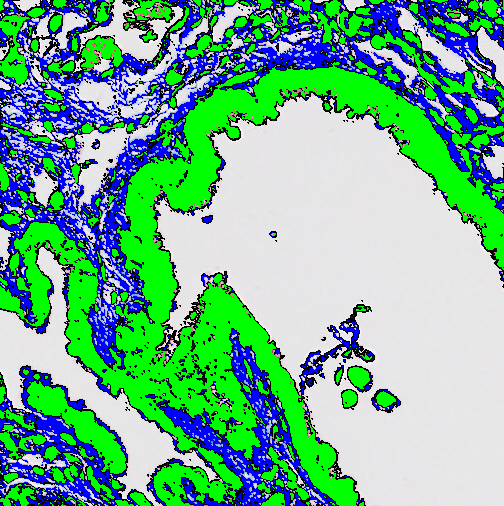
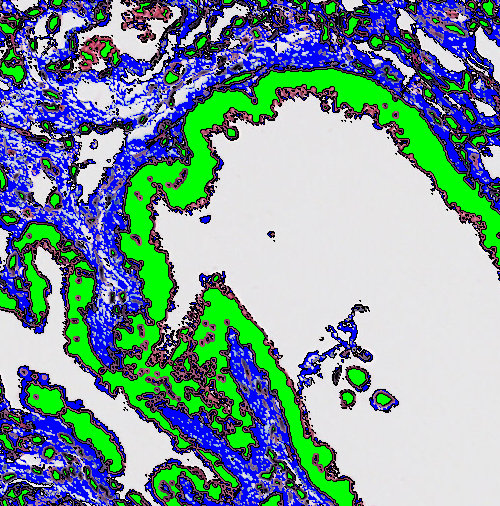
The Erode step reduces the size of a label by replacing its boundary with another chosen label. This operation is also known as erosion.
| Option | Description |
|---|---|
| Label | Choose the label to erode. |
| With | Choose the label used to replace the eroded label. |
| Pixels | Choose the size of the kernel (convolution matrix) used for erosion. The Erode step uses a circular kernel, where the Pixels setting can be interpreted as the diameter of the circle. Larger values result in greater label reduction. |
| Apply from image border | Toggles whether the image border counts as part of the surrounding label. |
Dilate
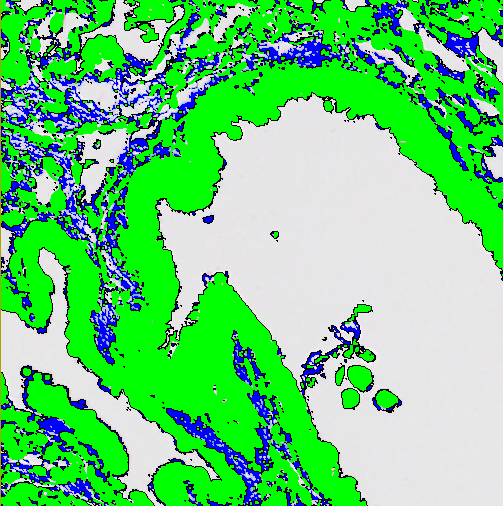
The Dilate step increases the size of a label by extending its boundary outwards with a selected label. This operation is known as dilation.
| Option | Description |
|---|---|
| Object Label | Choose the label to dilate. |
| With | Choose the label used to extend the boundary of the dilated label. |
| Pixels | Choose the size of the kernel (convolution matrix) used for dilation. The Dilate step uses a circular kernel where the Pixels setting can be interpreted as the diameter of the circle. Larger values result in greater label increase. |
| Avoid merging objects | If enabled, an exclusion distance is applied to prevent objects from merging when their dilation boundaries overlap. This only applies when the overlap occurs between different objects. |
| Exclude labels | Choose which labels, if any, should not be affected by the dilation. |
Open
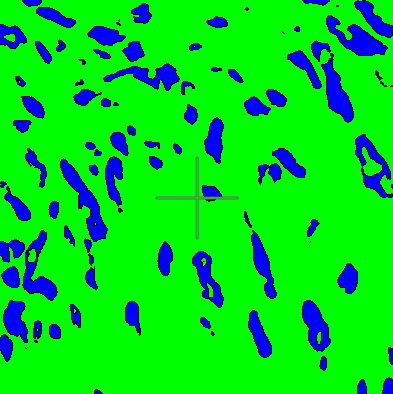
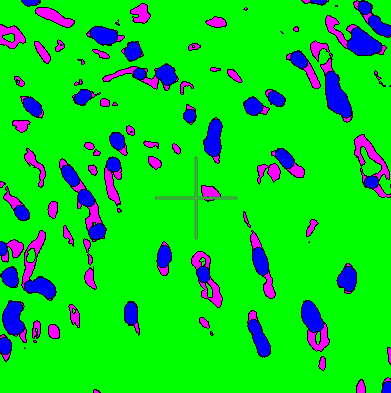
The Open step corresponds to an erosion followed by a dilation. This will remove small/thin parts of the label objects.
| Option | Description |
|---|---|
| Label | Choose a label to open. |
| With | Choose the label used to replace the opened label. |
| Pixels | Choose how many pixels the label should be opened with. |
| Apply from image border | Toggles whether the image border counts as part of the surrounding label. |
Close
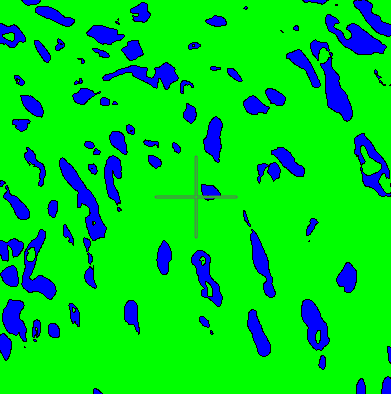
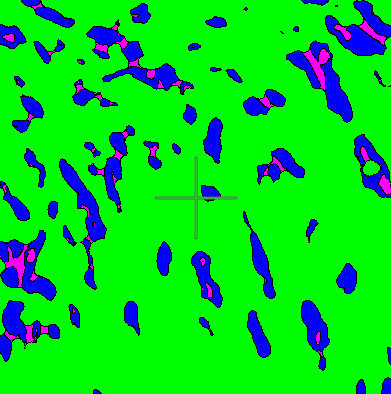
The Close step corresponds to a dilation followed by an erosion. This will smooth the edges and fill small holes within the label objects.
| Option | Description |
|---|---|
| Label | Choose a label to close. |
| With | Choose the label used to replace the closed label. |
| Pixels | Choose how many pixels the label should be closed with. |
| Exclude labels | Highlight one or more labels that should remain uninfluenced by the close step. |
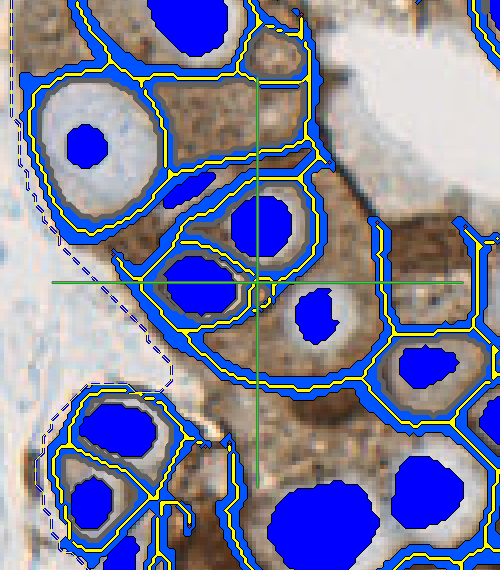
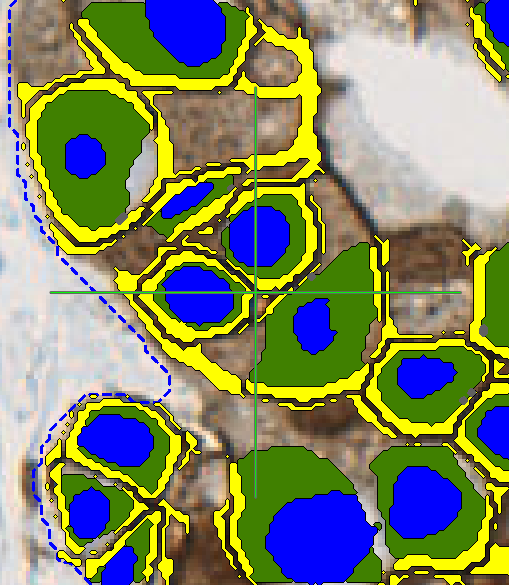
Skeletonize
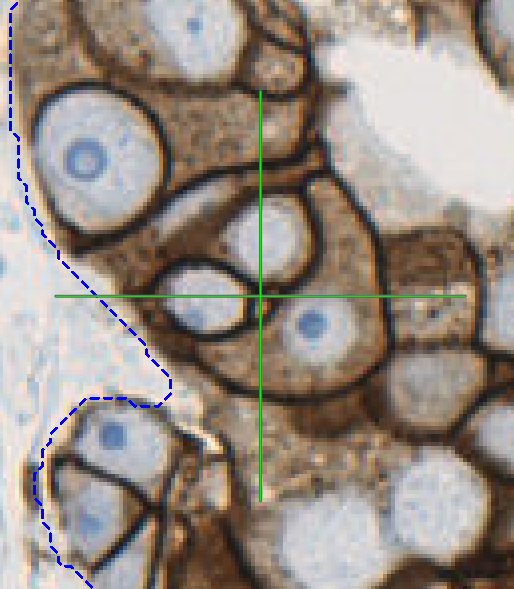
The Skeletonize step creates a skeleton, which is a line of pixels that follows the centerline of each labeled object. If an object contains appendices or other irregularities, the skeleton branches to follow these structures.
| Option | Description |
|---|---|
| Label | Choose the label to skeletonize. After skeletonization, the skeleton will have this value. |
| New label | Choose the label used for replacing the label pixels which are not part of the resulting skeleton. |
| Branch points | Choose the label used for the pixels placed where the skeleton branches. |
| End points | Choose the label used for the pixels placed where the skeleton ends. |
| Prune until --- Endpoints | Toggle on this option to limit the number of endpoints in each object skeleton. Enter the maximum number of endpoints to retain. |
Fill Holes
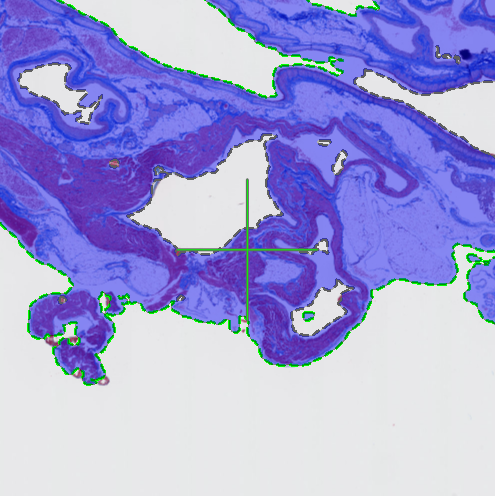
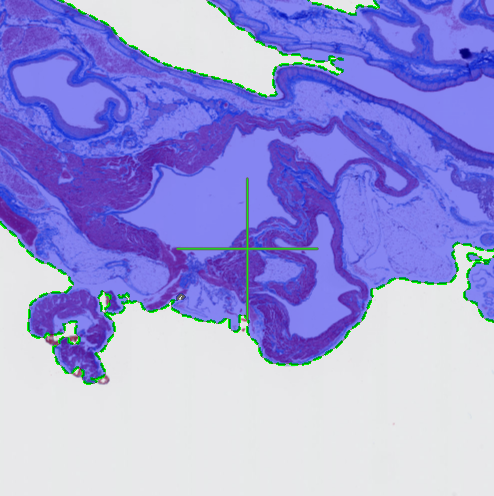
This Fill Holes step fills all holes within the chosen label.
| Option | Description |
|---|---|
| Object label | Choose the label whose holes should be filled. |
| Fill label | Choose the label which should fill the holes. |
Separate Objects
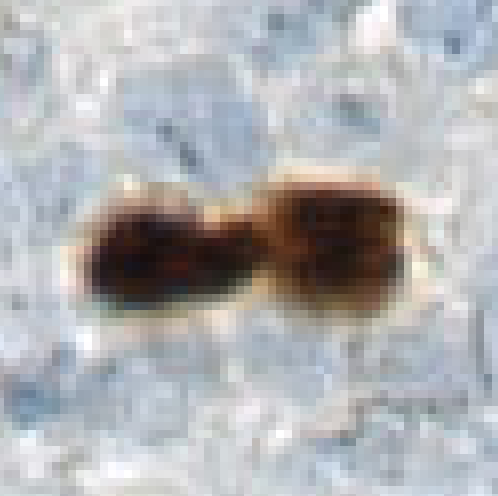
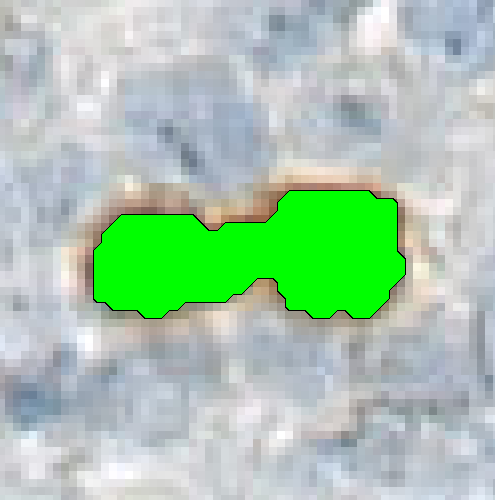
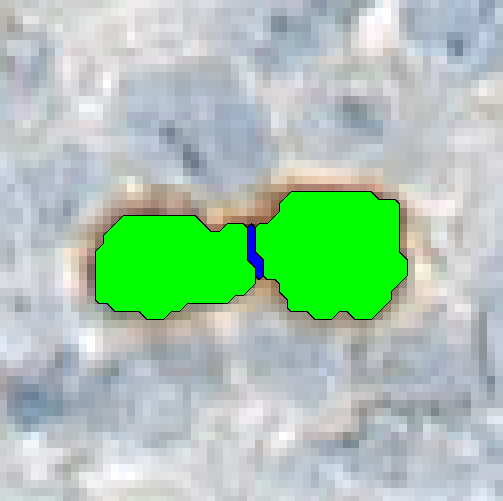
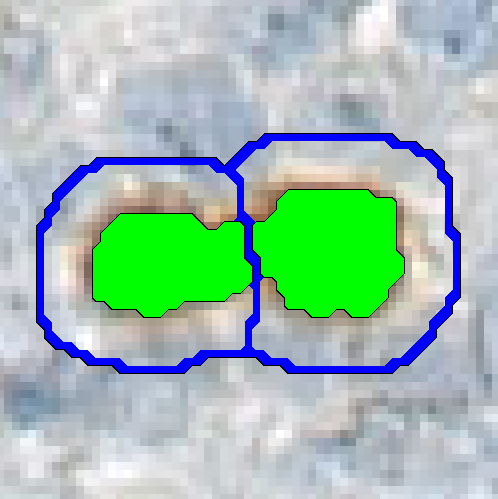
The Separate Objects step separates individual objects, that have been merged into one label by a classification. The separation is based on the shape and size of the objects. It is also possible to separate the entire image into regions using the objects as templates.
| Option | Description |
|---|---|
| Object label | The label defining the objects to be separated. |
| Separator label | The label which should be used as the separating label. This should be a neutral label, not used anywhere else. |
| Background labels | Define which label(s) that make(s) up the background. |
| Object diameter | The approximate mean diameter of the objects to be separated in the image. This parameter should be in the units used. To measure the diameter and set the unit, use the Annotation Measure-tool. |
| Separate object surroundings | If checked the entire image will be separated into regions using the objects in the chosen label as a template. If unchecked the separation is only done inside the chosen object. |
| Surroundings width | If Separate object surroundings is selected this option is available. Define how far out the object boarder can go in units used. This will affect the size of the regions. |
| Assume that objects are elliptic | Assumes that the separated objects are elliptic. If this is not the case and their elliptic score is lower after separation, the objects will stay merged. |
| Object heatmap | Uses a chosen feature from the pre-processing step to assist the separation. The feature should enhance edges (in light colors) and the background (in dark colors). The influence is decided by the span of pixel values, where the range from 0-255 should be default and weighs the heatmap and the distance transform equally. If the span is wider the heatmap will have higher influence than the distance transform and vice versa. |
Separate by Watershed
The Separate by Watershed step will separate the object-label between seeds that are defined by the seeds-label. The resulting borders between the seeds are labeled with the separator-label. This is done using a watershed algorithm. The watershed algorithm uses a feature image to grow from the lowest pixel values (darkest) and up towards higher pixel values (bright), using the seeds as starting points. Hence, the feature image should be constructed such that the pixels for the seed area have low values and pixels at the borders have high values.
Unlike the Separate Objects step, there is no need to specify object size since the algorithm allows unlimited growth within an object, which can follow irregular shapes.
| Option | Description |
|---|---|
| Seeds | The label defining the starting points for the watershed algorithm. |
| Objects | The label defining objects to be distributed between seeds. |
| Separator | The label used to replace the borders occurring from the object separation. |
| Feature | The feature image used by the watershed algorithm. The pixel values at the borders need to be high (bright), while the pixel values at the seeds needs to be low (dark). |
Outline Cells
The Outline cells step will outline a given label as if it was a nucleus, by means of interpolation with an already existing membrane label. This step is usually used when the membrane detection has not been satisfactory. The processing step has four input parameters:
| Option | Description |
|---|---|
| Object center | Defines the nucleus label. |
| Outer limits | Defines the membrane label. |
| Max distance | Defines the maximum distance the outline is allowed to expand (radius from nucleus). |
| Delimiter | Defines the label of the outline. |
Circumscribed Rectangle
The Circumscribed Rectangle step creates the smallest possible rectangle around a given label, whereas inscribed rectangle creates the largest possible rectangle within a given label.
| Option | Description |
|---|---|
| Label | Choose label of which to find the circumscribed/inscribed rectangle. |
| Circumscribed | Choose the label assigned to the circumscribed rectangle - choose "Don't use" to ignore. |
| Inscribed | Choose the label assigned to the inscribed rectangle - choose "Don't use" to ignore. |
| Allow rotation | If selected the rectangles are allowed to be rotated, otherwise they are always parallel to the sides of the image. |
Mark Center of Mass
The Mark Center of Mass step finds the given labels center of mass, per object, and marks it with another label. The width parameter is the diameter of the circle that marks the center of mass.
| Option | Description |
|---|---|
| Label | The label that will have its center of mass calculated. |
| Mark with | The label that will mark the point in which the located center of mass is. |
| Width | The width of the Mark with label. |