Working with layer data
LayerData (ROIs, Annotations, Labels and Heatmaps) of the active image can be saved to a file and imported to other images, or processed in other programs.
Alternatively, the Regions Of Interest (ROIs) can be extracted separately to an .xml
Export layer data
-
Click on
 or on
or on  .
. -
Navigate to and select the image with the layer data to export.
-
Click File | Export | LayerData to start the export process.
-
Browse to the location where the file should be saved and give it an appropriate name. Select the export type and click Save to export the layer data in the selected format.

Supported export formats
The following file formats are available for export in Visiopharm:
| File Type | Description | Extension |
|---|---|---|
| Visiopharm Layer Data | Contains data layers created in Visiopharm for analysis or visualization. | .mld |
| Nanostring OME: XML Annotations | Exported annotations in XML format compatible with Nanostring OME analysis workflows. | .ome.xml |
| TIFF Image | High-resolution image format commonly used in microscopy and imaging software. | .tif .tiff |
| Visiopharm ROI Annotations XML | Region of interest annotations exported as XML files for integration with other systems. | .xml |
| Visiopharm ROI to Leica LMD (Laser Microdissection) XML | Exported ROI annotations in XML format compatible with Leica LMD software. | .xml |
Leica Laser Microdisector (LMD) XML Export
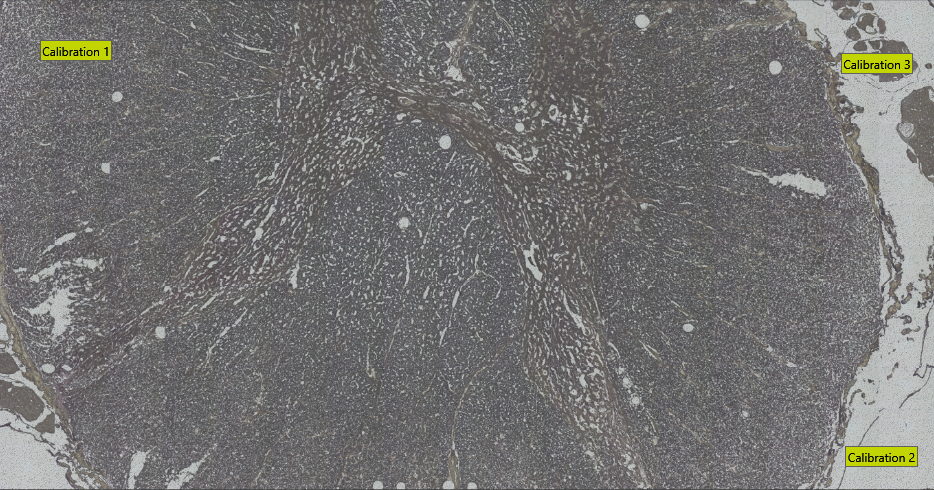
To export Visiopharm ROIs in Leica LMD XML format, ensure you have at least three calibration points. These can be specified by using Visiopharm Text Annotations placed in three well-distributed and easily recognizable image locations. Have the text for the calibration spots being Calibration 1, Calibration 2, ..., as shown in the example image below.
The export will save all non-clear ROI objects on the overlay after performing a morphological closing, followed by a simplification using one-fifth of the closing diameter. The default closing diameter is 50 μm. This can be adjusted in Registry Editor under Computer\HKEY_LOCAL_MACHINE\SOFTWARE\Visiopharm\VPSDK as shown below.
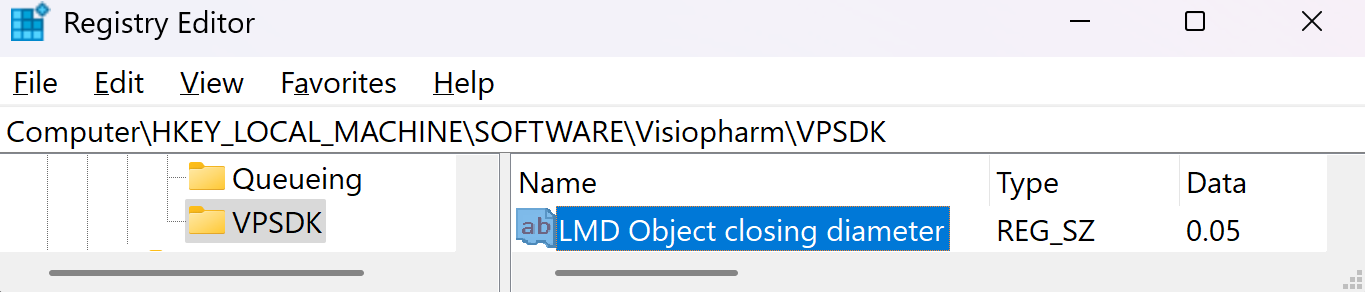
To see which object was written to the LMD xml pass the LMD objects back as annotations to the Visiopharm overlay by enabling the option Pass Back LMD Objects in Registry Editor under Computer\HKEY_LOCAL_MACHINE\SOFTWARE\Visiopharm\VPSDK.

Batch import layer data
-
Click on
. -
Navigate to the folder to import the layer data to.
-
Click on
 and select Layer data to current folder.
 -
Browse the folder containing the layer data and press Select folder.
-
Select Import folder in the newly opened window.
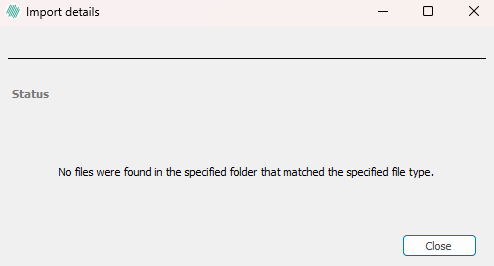
The layer data files must have a file name matching the file name of the image in the study they should be imported to. This ensures that the files will be imported and attached to the appropriate images.