Importing images
To get started with using the database, images must first be imported.
- Click on
 and select New Images to database (import).
 - Browse and select the folder that contains the images to import. Click Select Folder.
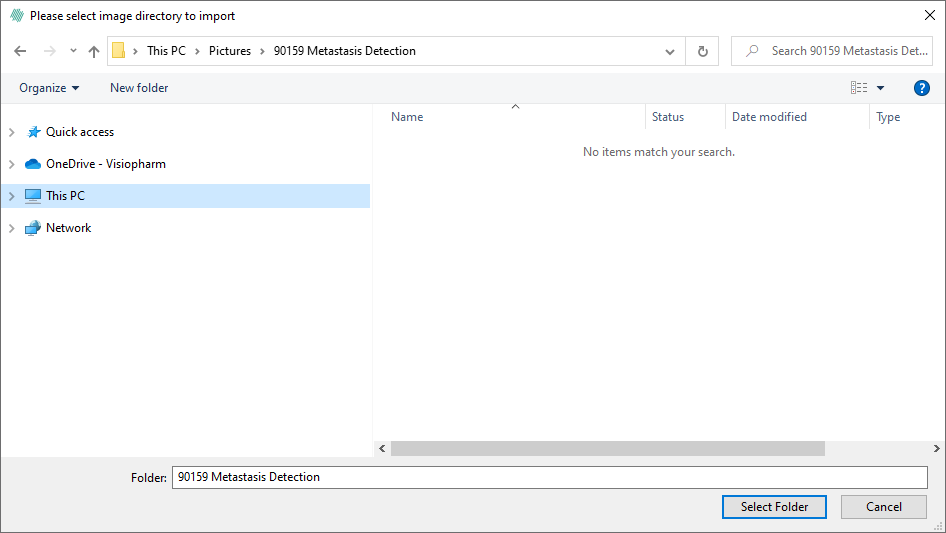
The databse will not move or copy any images. The import only imports the location of the images to the database.
- All is the default setting for the import. If a specific image format is to be imported, it can be selected in the dropdown menu.
- Click Import folder.
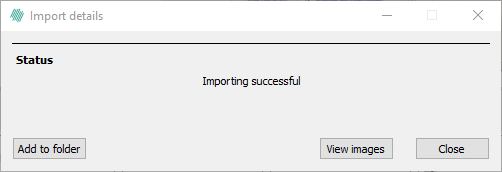
- The images are now successfully imported to the database.
- click Show followed by image to see the imported images in the tab
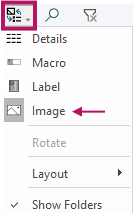 .
.
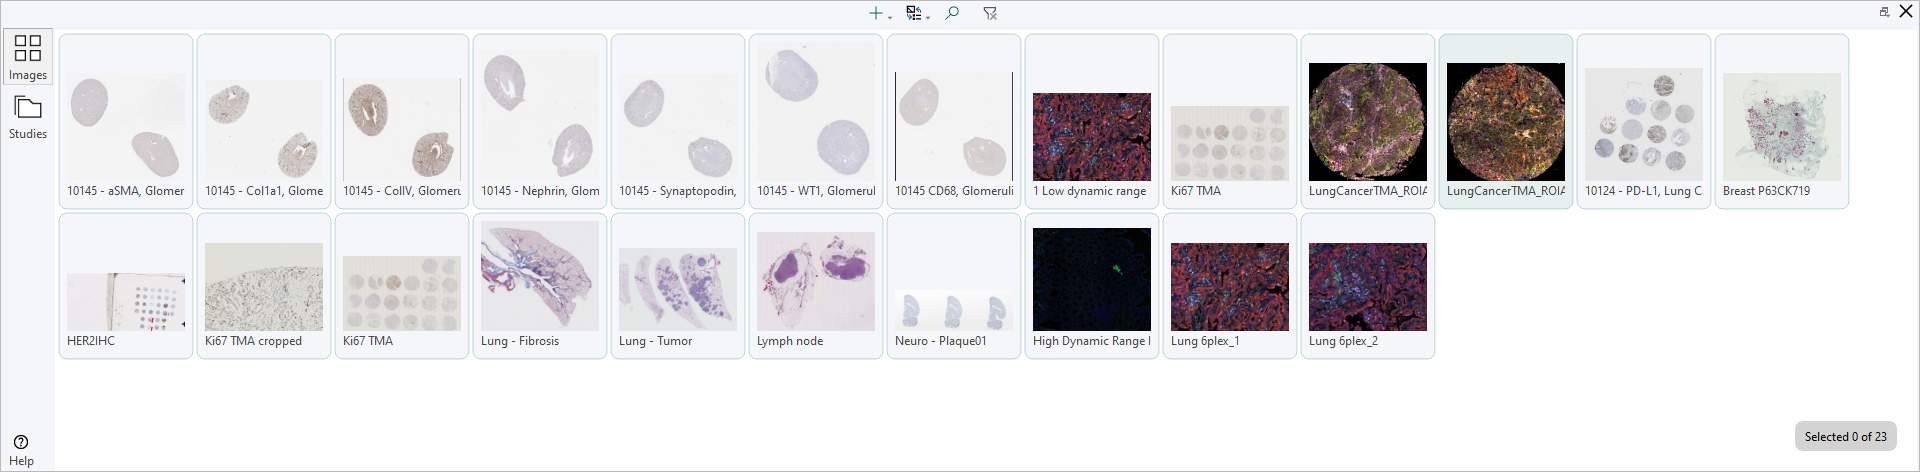
When the image(s) are imported to the database, they will be imported to the ![]() tab by default.
tab by default.
Open Layer Data
Importing layer data, which includes ROIs, labels, measures and annotations, can be done from the file menu or by clicking the + in the Database.
The layerdata file - named layerdata.json - must be imported into the Database on the same level (ie. in the same folder) as the image to which it is associated.
Stitch together Leica Laser Dissector BMP to one whole slide
It is possible to stitch together a Leica Laser Dissector BMP to one whole slide. This can be done if a folder contains multiple FOV images (BMP, JPG, ...) with the same name except for the number at the end. Here is an example of such a folder structure:
Folder
├── Image_1.bmp
├── Image_2.bmp
├── Image_3.bmp
├── Image_4.bmp
├── Image_5.bmp
└── Image_6.bmp
To do this, place a file called VPSDKMetaData.xml in the folder with the images. The file should contain the following:
<?xml version="1.0" encoding="utf-8"?>
<VPSDKMetaData version="1.0">
    <DPmmX>2001.100</DPmmX>
    <DPmmY>2001.300</DPmmY>
    <ImageFolderStitching>
        <ImagesPerRow>17</ImagesPerRow>
        <ColumnGaps>10</ColumnGaps>
        <RowGaps>20</RowGaps>
    </ImageFolderStitching>
</VPSDKMetaData>
The values in the file should be adjusted to match the actual values of the images. The values in the example above are just placeholders.