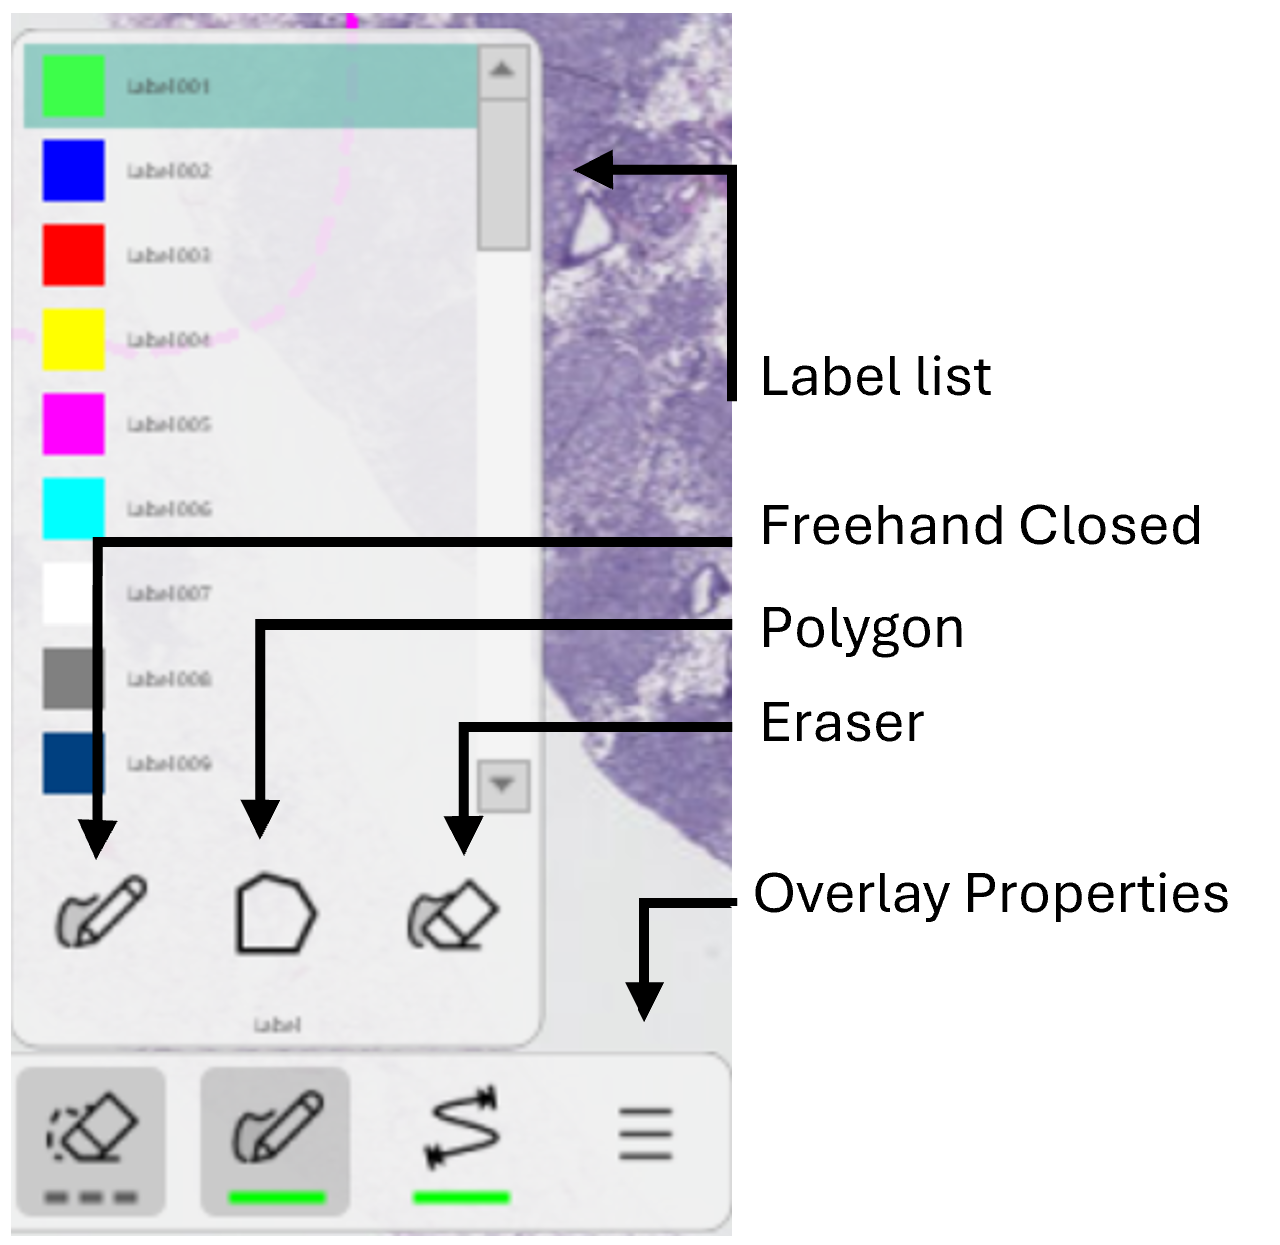
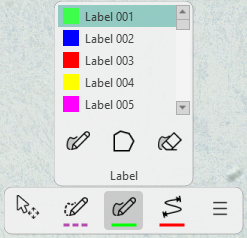
Label
The concept of labels is similar to the ROI-concept, but labels are "painted" on the image and are visualized differently. Each pixel in the image can be assigned to a label. The labels can be thought of as an extra layer on top of the image. The labels are useful in tasks such as classification. When selecting the Label tool, the following options/functions are available:
Press F7 to open the Label Properties.
Draw a label
To activate Label drawing, simply follow these steps:
-
Select Label
 in the Drawing tool, or press the
 wkey to activate Label drawing with the current active label (Label 001). -
Hover over the Label icon to expand the Drawing tool, as shown below.
Click Label to activate Label drawing and hover over the Label icon to expand the Drawing tool. -
Select the desired drawing mode, i.e., Freehand closed (default) or Polygon.
-
The mouse pointer changes from
 to
to  when label is activated.
 -
Left-clickand hold to start drawing and use the mouse to draw the label. -
Simply release the mouse button to finish the drawing.
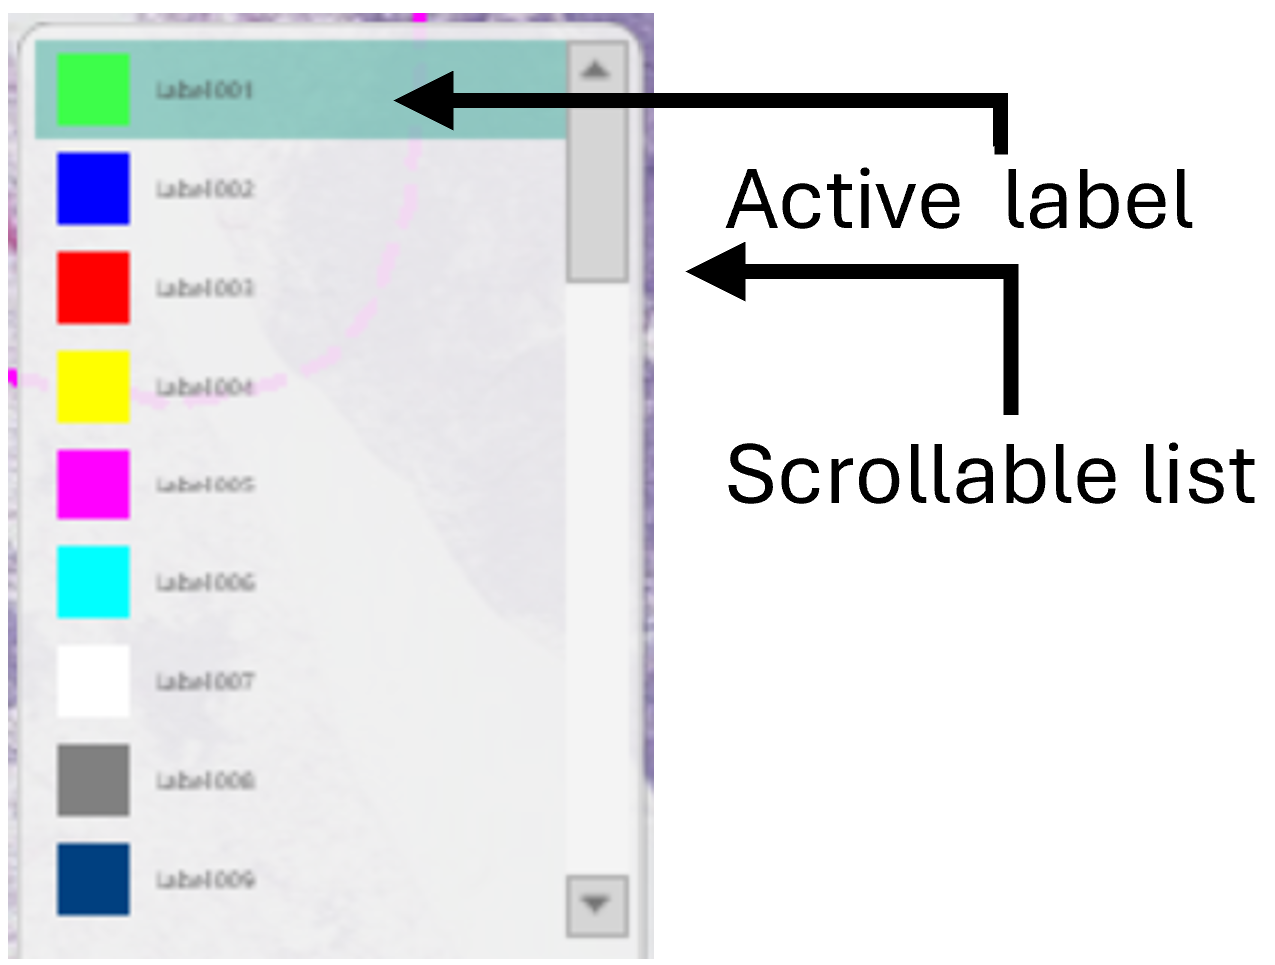
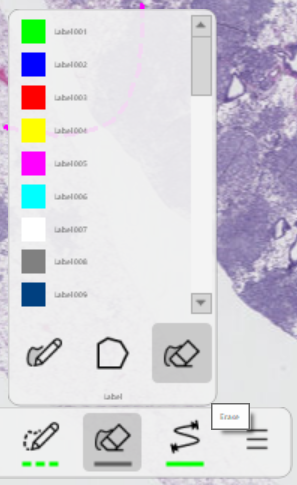
Notice that the current active Label is the label highlighted in the scrollable list.
When in drawing mode, press and hold the Shift key and then use the mouse to pan the image. Or press and hold the right mouse button to pan the image.
The default drawing shape is the polyline. Other shapes are available from the Draw page of overlay properties.
Change current active label
The current active label is the label highlighted in the scrollable list in the expanded drawing tool. Change the current label in the drawing tool by:
-
Hover over Label in the drawing tool to expand the Label overlay tool.
-
Hover over the list and use the mouse wheel to scroll the list.
-
Select the desired label from the list and start drawing the label.
Change the label name
The name of the different labels (i.e., Label 001,...,Label 039) can be changed to reflect what it encapsulates.
-
Select Label in the Drawing tool.
-
Hover over the list and use the middle mouse button to scroll the list.
-
Double-clickon the desired label from the list and rename it as needed.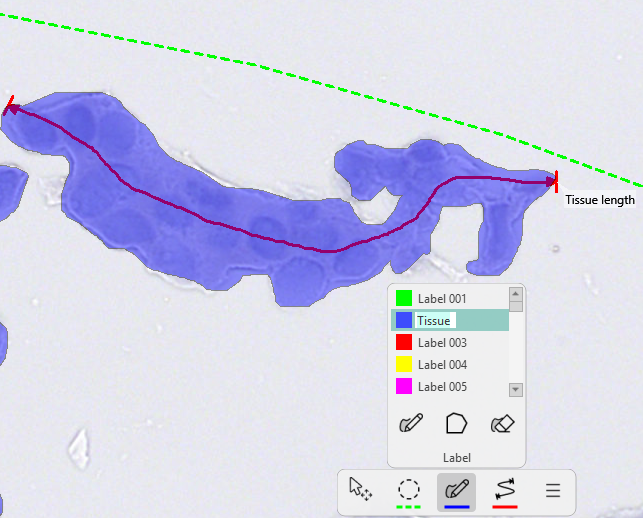
Delete a label
To delete a single label, the Label drawing tool must be activated first:
- Click Label in the drawing tool to activate Label drawing.
- The mouse pointer changes from to indicating that Label drawing is activated.
- Hover the mouse over the label to be deleted until it is highlighted in yellow.
- While the label is highlighted, press the
Deletekey to delete the label.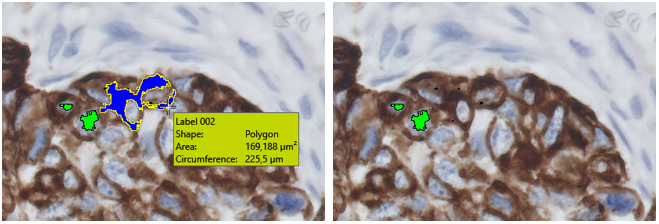
Hover over the label to highlight it and press the Delete-key to delete the label (Bladder tissue DAB stain).
While highlighting a label, the overlay info box appears displaying information about the highlighted label.
Notice that the mouse pointer changes back to ![]() . To delete another label, repeat steps 1-5.
. To delete another label, repeat steps 1-5.
Delete all labels
To delete all labels, the Label drawing tool must be activated first:
- Click Label in the drawing tool to activate Label drawing.
- The mouse pointer changes from to indicating that Label drawing is activated.
- Hold down the
Shiftkey and press theDeletekey to delete all labels.
Notice that the mouse pointer changes back to ![]() .
.
It is not necessary to highlight any labels to delete all labels.
Delete parts of labels
The erase tool can be used to delete a part of a label by:
-
Select Label
in the drawing tool. -
Select the Eraser tool at the top of the drawing tool.
The 'Erase by drawing' tool -
The erasing tool works like the Polyline tool. Click and hold the
left mouse buttonover the area that needs to be erased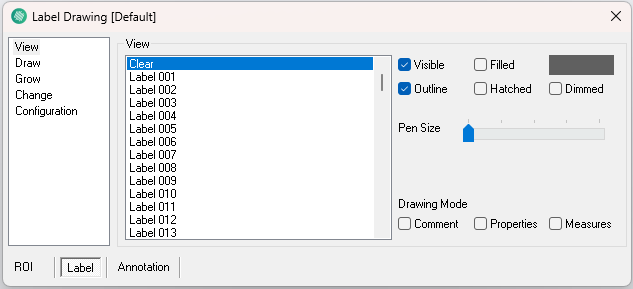
Default settings for eraser tool