Atlas Mapping
The Atlas Mapping article contain information about the mouse brain atlas tools and the workflow of the Atlas Mapping module. It provides information regarding import of data, mapping atlases, aligning images with atlases, selecting brain atlas regions and how to save the regions for further use.
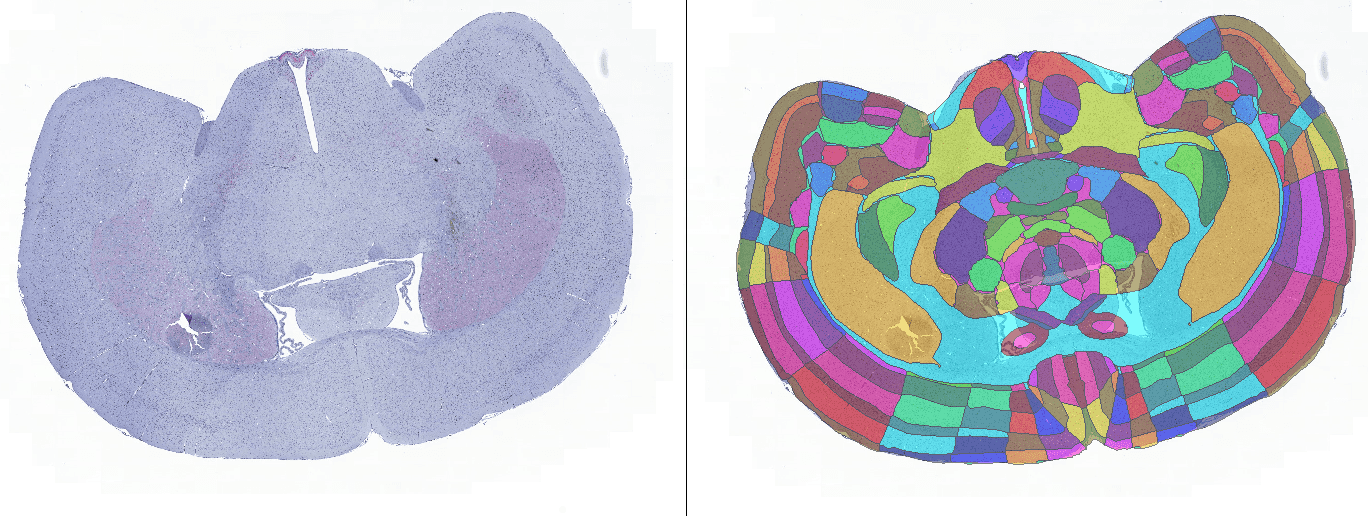
With Atlas Mapping, well-known research mouse brain atlases can be loaded and aligned with scanned tissue sections. The atlas section outlines are aligned with the tissue outlines in the images. After completing the workflow, images are saved to the Database along with the aligned Atlas overlay (or converted to ROIs), preparing them for targeted image analysis in specific brain regions within other Visiopharm modules.
Workflow steps
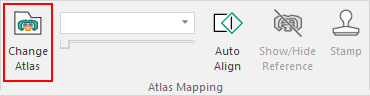
Ensure that Atlas Mapping is selected in the ribbon.
-
Begin by selecting or importing the desired image from the database.
-
In the ribbon, click Change Atlas to load the atlas for use.
The directory for atlases is located in the Visiopharm installation folder. The default directory is:
C:\ProgramData\Visiopharm\Atlases
- Choose the .svg file for the desired atlas.
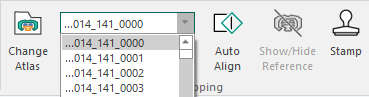
The currently selected atlas section can be manually changed either by using the dropdown list or by adjusting the slider.
Using the dropdown list
-
Click the little arrow to expand the dropdown list. The list includes all the atlas sections of the loaded atlas.
-
Select an atlas section from the list.
Using the Slider and the arrow keys
- Click and drag the slider to change the currently selected atlas section.
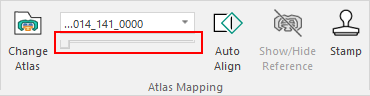
The slider can also be navigated using the arrow keys on the keyboard to step through to the next atlas section.
Click the slider once to activate the arrow keys.
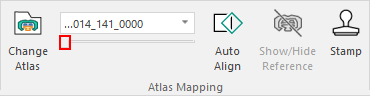
Use the arrow keys on the keyboard to navigate forward (right arrow) or backward (left arrow) through the atlas sections.
See Move, rotate and scale atlas section below for how to manually manipulate the atlas section to fit your image.
Remember that the transparency of the atlas can be controlled in the Ribbon.
Compatible atlases
Third-party atlas maps
The Visiopharm A/S software and Atlas Mapping module is not installed or distributed with any 3rd party brain atlases and do not own any rights to the supported atlases. Any use of Atlas Mapping with any supported atlas must follow the terms and conditions in addition to the citation policy of the used atlas.
Visiopharm utilizes SVG files (.svg) for atlas map sections. Within the workflow, the directory containing the atlas map sections must be located. Three third-party atlases from the Allen Institute for Brain Science are currently supported:
-
Mouse brain, P56, Coronal (half) - Atlas ID 1
-
Mouse brain, P56, Sagittal (half) - Atlas ID 2
-
Mouse brain, Coronal (full)
click here or here to find all three atlases.
Atlas overlay regions
When the Atlas Mapping workflow is completed, atlas overlay regions are saved together with the image. These regions correspond to the exact same brain regions that are contained in the used atlas map. Which brain regions that are present as atlas regions are determined by the atlas section chosen for each individual image. The atlas regions are aligned automatically or manually in the workflow.
Atlas regions saved to an image are accessible in the Image Analysis module, enabling analysis of specific brain regions while excluding all other areas. These regions function like ROIs for targeted image analysis.
Save atlas overlays or ROIs on images
Once the correct atlas is selected, save it by pressing Ctrl+S or by clicking the Save (![]() ) button in the Ribbon. This action saves the atlas overlay on the image.
) button in the Ribbon. This action saves the atlas overlay on the image.
Move, rotate and scale atlas section
The Atlas Mapping module in Visiopharm provides interactive controls to modify the dimensions and position of individual atlas sections. Familiarity with manual movement, rotation, and scaling of the atlas enhances accuracy in aligning the correct atlas sections with images. The Viewer displays each atlas section within a multi-functionality box:
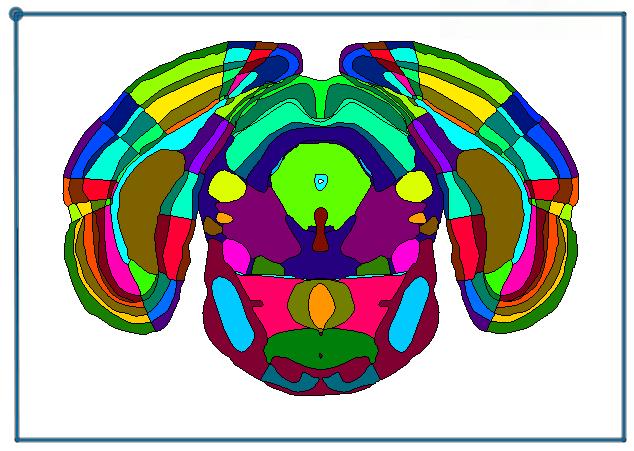
The box outside the atlas is interactive; clicking and dragging specific areas or sides transforms the atlas section is transformed in a specific way. For example, every side of the box can be scaled, every corner can be used for rotation and scaling and the area close to the border activates movement. See the sections below on each interaction.
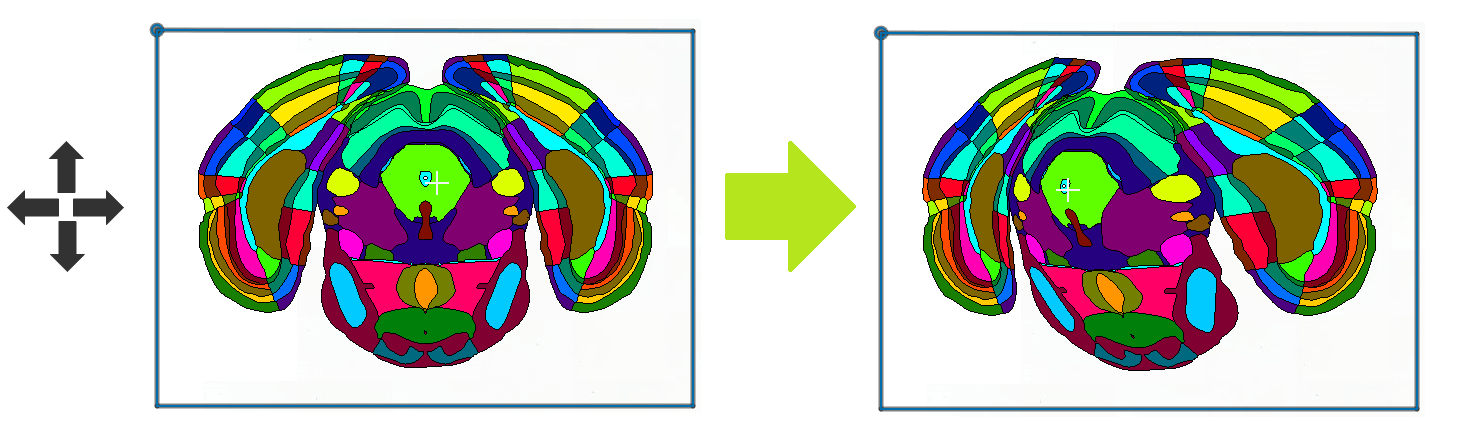
Move translation
-
Hold the mouse cursor inside the red area close to the edges (see figure below), so that the cursor will change to
 .
. -
Click and hold the left mouse button.
-
Now drag the mouse to move the atlas section.
Remember that transformations can be undone and redone using the buttons in the Ribbon.

Rotation
Every corner of the box can be used for rotation and scaling.
-
Click and hold down the left mouse button on a corver of the vox when the cursor changes to
 .
. -
Drag the mouse to rotate the atlas.
The atlas rotates around the opposite diagonal corner. The rotation transformation can also be used to scale the atlas, allowing rotation and scaling to be combined in a single transformation.
Remember that transformations can be undone and redone using the buttons in the Ribbon.
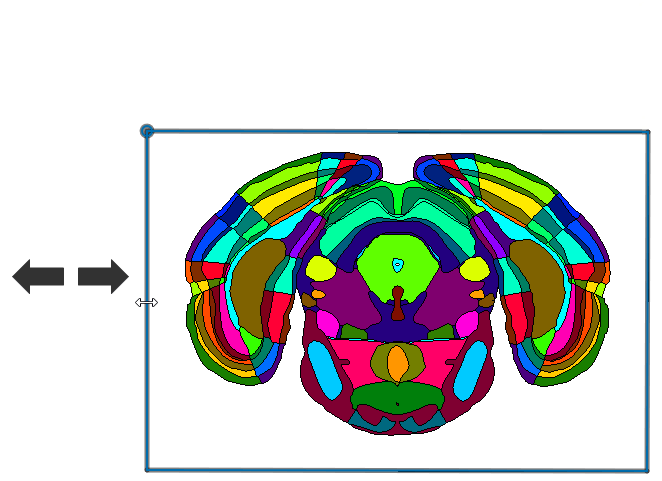
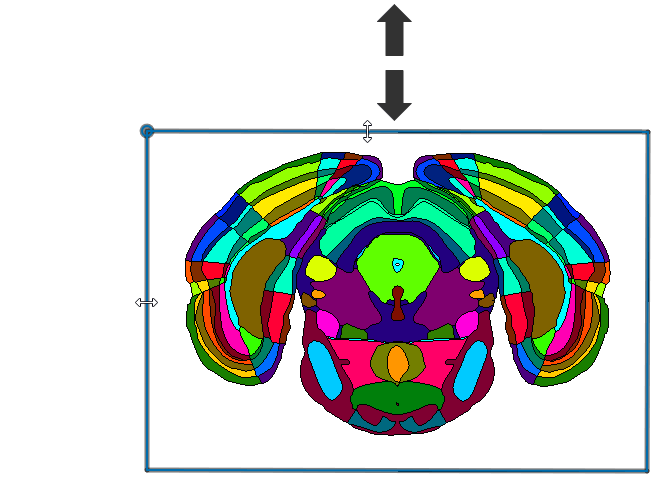
Scaling the atlas
Scale the atlas by clicking and dragging the edges of the box or by combining rotation and scaling in a single transformation (see Rotation for details).
- Click and drag any edge of the atlas box when the mouse cursor changes to
 .
.
Remember that transformations can be undone and redone using the buttons in the Ribbon.
Stamp Tool
When alignment is complete—whether performed automatically or manually—regions can be selected for conversion into ROIs. "Stamping" a brain region designates that the specified brain region from the atlas should be converted into an ROI by the Atlas Mapping module. Use the stamp tool if the default atlas overlay from the Atlas Mapping module workflow is not desired.
Brain regions can be selected and stamped in two ways:
-
Stamp tool with filter functionality
-
Double-click on an atlas brain region
Stamp Tool with filter functionality
The Stamp tool facilitates searching and filtering through all atlas brain regions, making it easier to find and select specific regions. Once the desired brain regions are selected, they can be stamped and converted into ROIs. This process must be repeated for each individual image.
-
Open the Stamp tool from the Ribbon:
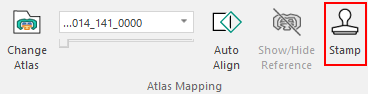
This brings up the Select regions dialog:
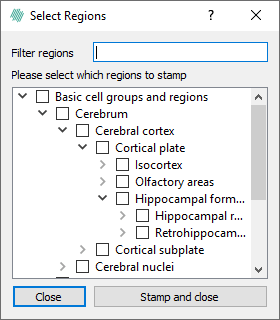
Search and filter atlas brain regions The dialog contain a tree-like structure where each of the entries can be expanded, collapsed and selected. Selecting an entry with sub-entries results in selecting all sub-entries for stamping.
Use Filter regions to search for specific brain regions. The dialog displays only those brain regions that match the entered name (see the example in the figure on the right).
-
Click the checkbox to select the region(s) to be converted into ROI(s).
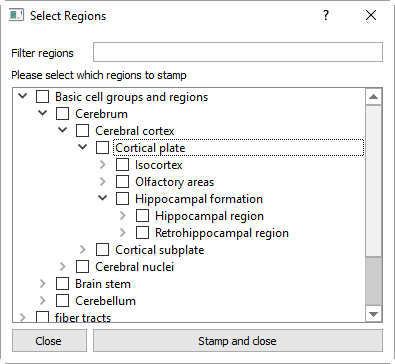
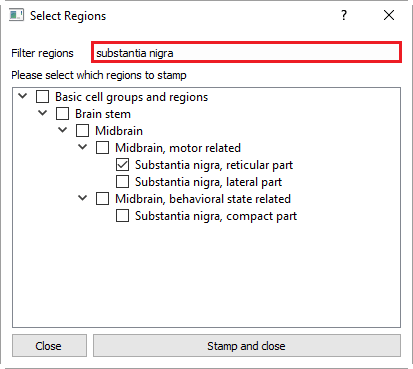
- Click Stamp and close to stamp the selected region(s), i.e. convert them into ROI(s).
This process should be performed for each imported image.
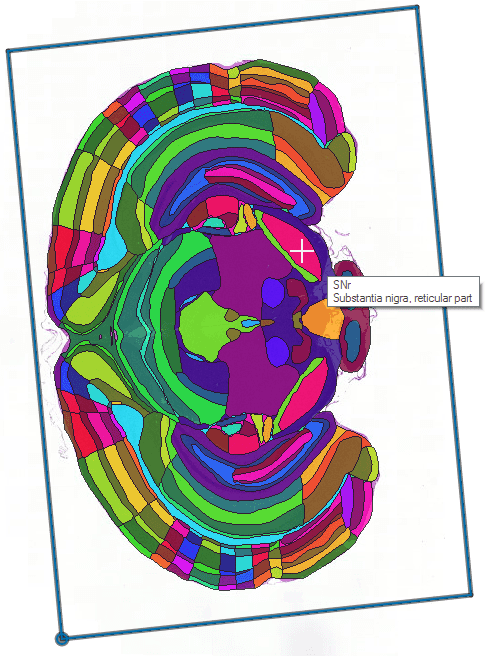
Double-click on an atlas brain region
- Quickly select brain regions for stamping by double-clicking the atlas region with the left mouse button.

-
Go to the next image
Selecting brain regions by double-clicking does not stamp or convert them into ROIs, as is possible with the Stamp tool.
However, once brain regions are selected on all images by clicking on them, and this step is completed by clicking
 , the Atlas Mapping module automatically stamps the selected regions on all individual images before proceeding to the next step.