Atlas Mapping
The Atlas Mapping article contain information about the mouse brain atlas tools and the workflow of the Atlas Mapping module. It provides information regarding import of data, mapping atlases, aligning images with atlases, selecting brain atlas regions and how to save the regions for further use.
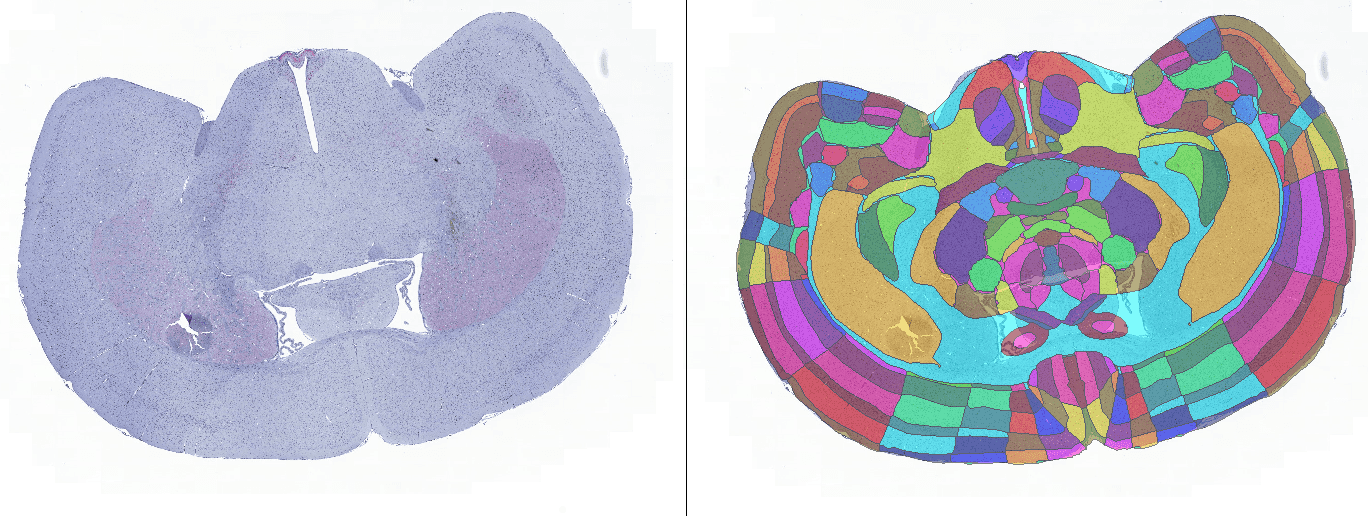
With the Atlas Mapping you are able to load well-known research mouse brain atlases and align them with your scanned tissue sections. The outlines of the atlas sections are aligned with the outlines of the tissue in the images. After completing the workflow, your images are saved to the Database together with the aligned Atlas overlay (or converted to ROIs), so they are set up perfectly for image analysis in specific brain region(s) in other Visiopharm modules.
Workflow steps
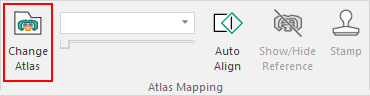
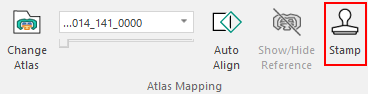
Make sure that you have selected Atlas Mapping in the ribbon.
-
Start by selecting/importing the image you want to work with from the database.
-
In the ribbon, click 'Change Atlas' to load the atlas you want to use.
The directory for atlases is located in the Visiopharm installation folder. The default directory is:
C:\ProgramData\Visiopharm\Atlases
- Select the .svg file for the atlas you want to use.
You can manually change the currently selected atlas section in two ways; using the dropdown list or using the slider.
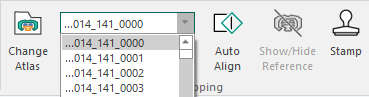
Using the dropdown list
-
Click the little arrow to expand the dropdown list. The list includes all the atlas sections of the loaded atlas.
-
Select an atlas section from the list.
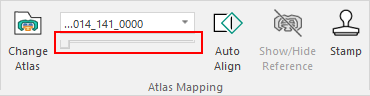
Using the Slider and the arrow keys
- Click and drag the slider to change the currently selected atlas section.
You can also use the slider with the arrow keys on the keyboard to step through to the succeeding atlas section.
Click the slider once to activate the arrow keys.
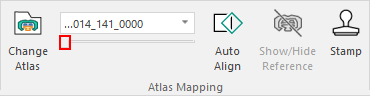
Now you can use the arrow keys on the keyboard to go forward (right arrow) or backwards (left arrow) through the atlas sections.
See Move, rotate and scale atlas section below for how to manually manipulate the atlas section to fit your image.
Remember that you can control the transparency of the atlas in the Ribbon.
Compatible atlases
Third-party atlas maps
The Visiopharm A/S software and Atlas Mapping module is not installed or distributed with any 3rd party brain atlases and do not own any rights to the supported atlases. Any use of Atlas Mapping with any supported atlas must follow the terms and conditions in addition to the citation policy of the used atlas.
Visiopharm uses SVG files (.svg) for atlas map sections. In the workflow, you have to locate the directory of the atlas map sections. Three third-party atlases are currently supported from Allen Institute for Brain Science:
-
Mouse brain, P56, Coronal (half) - Atlas ID 1
-
Mouse brain, P56, Sagittal (half) - Atlas ID 2
-
Mouse brain, Coronal (full)
click here or here to find all three atlases.
Atlas overlay regions
When the Atlas Mapping workflow is completed, atlas overlay regions are saved together with the image. These regions correspond to the exact same brain regions that are contained in the used atlas map. Which brain regions that are present as atlas regions are determined by the atlas section chosen for each individual image. The atlas regions are aligned automatically or manually in the workflow.
The atlas regions saved to an image are accessible in the Image Analysis module, where they allow you to analyze specific brain region(s) in images ignoring all other areas, i.e. they are used like ROIs for image analysis.
Save atlas overlays or ROIs on images
When you are done choosing the correct atlas, you can save by either clicking Ctrl+S or by clicking the Save (![]() ) button in the Ribbon. This will save the atlas overlay on the image.
) button in the Ribbon. This will save the atlas overlay on the image.
Move, rotate and scale atlas section
The Atlas Mapping module of Visiopharm allows you to interact and modify the dimensions and position of individual atlas sections. Knowing how to manually move, rotate and scale the atlas can help you better identify the correct atlas sections for the images. The Viewer displays any atlas section in a multi-functionality box:
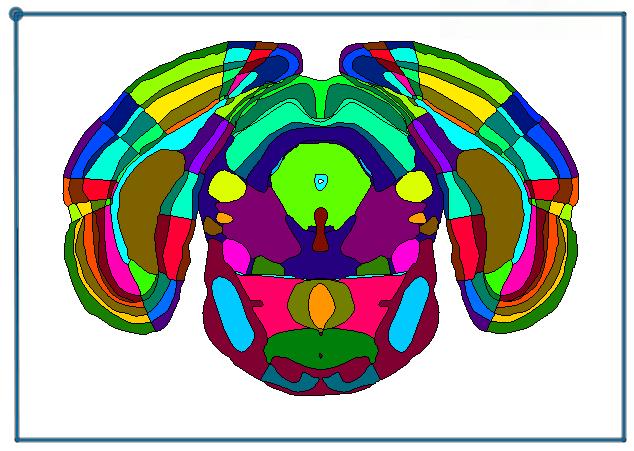
The box outside the atlas is interactive, and depending on which side or which area inside the box you click and drag, the atlas section is transformed in a specific way. For example, every side of the box can be scaled, every corner can be used for rotation and scaling and the area close to the border activates movement. See the sections below on each interaction.
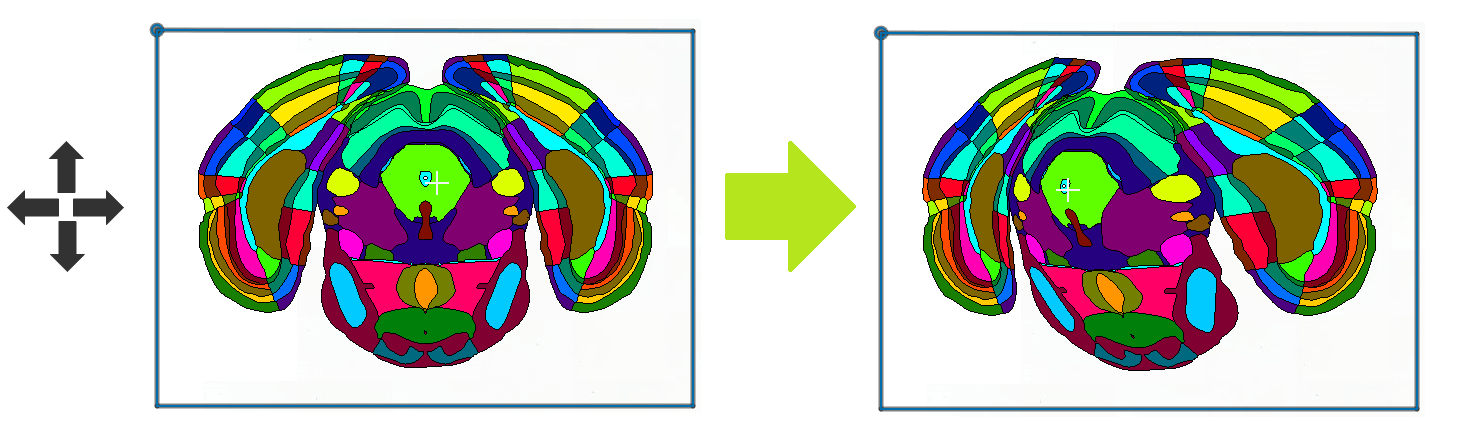
Move translation
-
Hold the mouse cursor inside the red area close to the edges (see figure below), so that the cursor will change to
 .
. -
Click and hold the left mouse button.
-
Now drag the mouse to move the atlas section.
Remember that you can undo and redo transformations by using the buttons in the Ribbon.

Rotation
Every corner of the box can be used for rotation and scaling.
-
Click and hold down the left mouse button on a corver of the vox when the cursor changes to
 .
. -
Drag the mouse to rotate the atlas.
The atlas will be rotated around the opposite diagonal corner. You can also use the rotation transformation to scale the atlas. Thereby, it is possible to combine rotation and scaling in one transformation.
Remember that you can undo and redo transformations by using the buttons in the Ribbon.
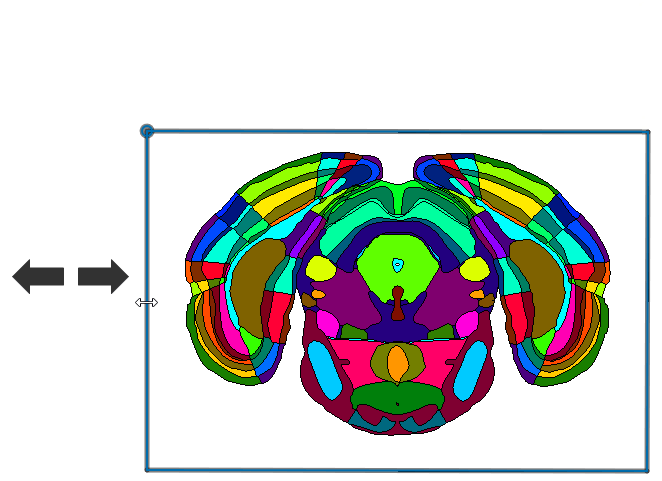
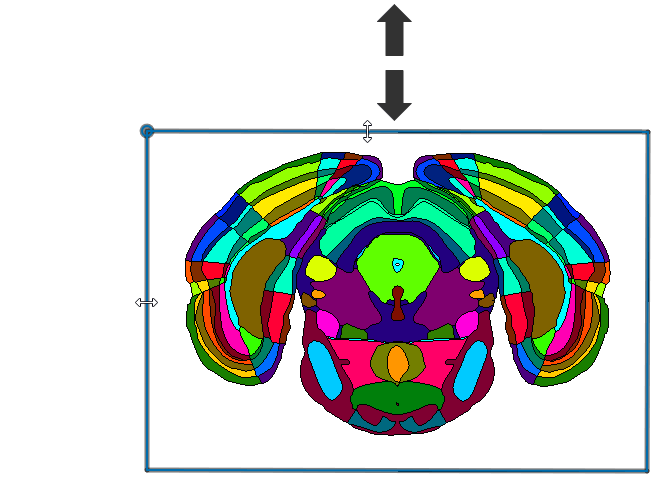
Scaling the atlas
You can scale the atlas either by clicking and dragging the edges of the box or you can use rotation and scaling in one transformation (see Rotation for the latter).
- Click and drag any edge of the atlas box when the mouse cursor changes to
 .
.
Remember that you can undo and redo transformations by using the buttons in the Ribbon.
Stamp Tool
When the alignment is sufficient whether it is performed automatically or manually, you can start selecting which region(s) that should be converted into ROIs. Stamp a brain region means that you specify that the brain region from the atlas should be converted into a ROI by the Atlas Mapping module. The stamp tool should be used if you do not want to use the default Atlas overlay resulting from the Atlas Mapping module workflow. You can select and stamp brain regions in two ways:
-
Stamp tool with filter functionality
-
Double-click on an atlas brain region
Stamp Tool with filter functionality
The Stamp tool is used to search and filter all the atlas brain regions to easily find and select the brain regions that you are looking for. When you have selected the brain regions you can stamp and convert them into ROIs. This must be done for each individual image.
-
Open the Stamp tool from the Ribbon:
This brings up the Select regions dialog:
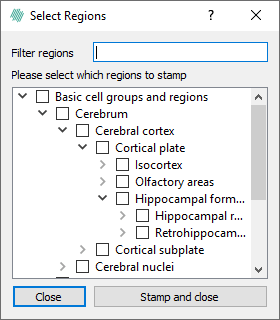
Search and filter atlas brain regions The dialog contain a tree-like structure where each of the entries can be expanded, collapsed and selected. Selecting an entry with sub-entries results in selecting all sub-entries for stamping.
You can also use the Filter regions to search for specific brain regions. The dialog only shows brain regions that match the entered name, see right figure below for an example.
-
Click the tick box to select the region(s) that you want to convert into ROI(s).
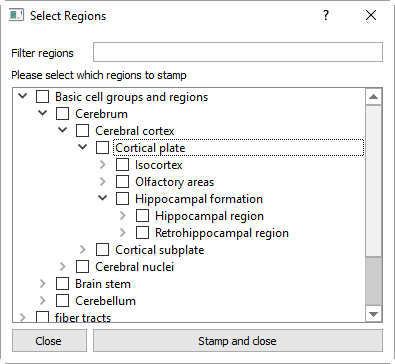
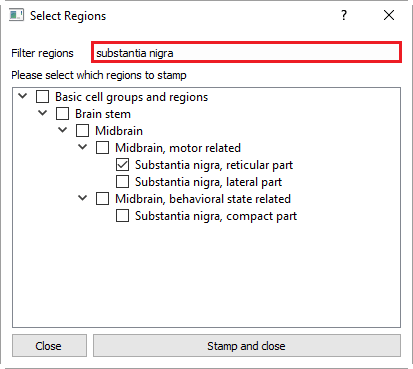
- Click Stamp and close to stamp the selected region(s), i.e. convert them into ROI(s).
This process should be performed for each imported image.
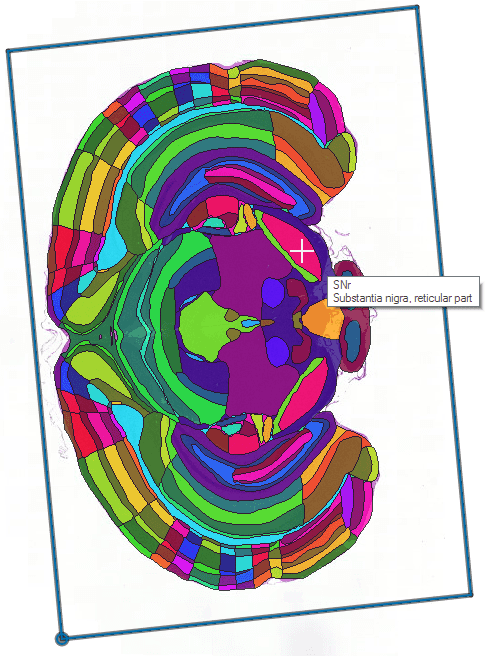
Double-click on an atlas brain region
- You can quickly select brain regions for stamping by double-clicking with left mouse button the the atlas region.

-
Go to the next image
Selecting brain regions by double-clicking on them, does not stamp/convert the them into ROIs, as you can do in the Stamp tool.
However, when you have selected brain regions on all images by clicking on them and completes this step by clicking
 , the Atlas Mapping module stamps the selected regions automatically on all individual images before continuing to the next step.