Batch Analysis
Batch Analysis allows you to run multiple image analysis tasks in a single operation. This is useful when you have a large number of images that you want to analyze with the same APP(s). Batch Analysis can be used to analyze images from a single slide or from multiple slides.
Analyze a selection of images
-
Click on
 .
. -
Navigate to the right folder in the navigation area.
-
Select the images you want to analyze.
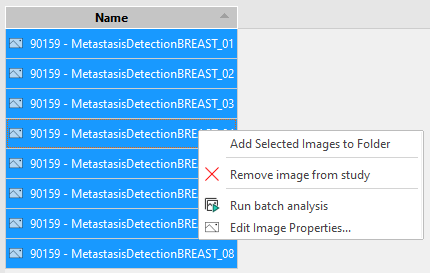
Click on Run bath analysis to run an analysis on the current selection of images. -
Right-click and select Run batch analysis.
-
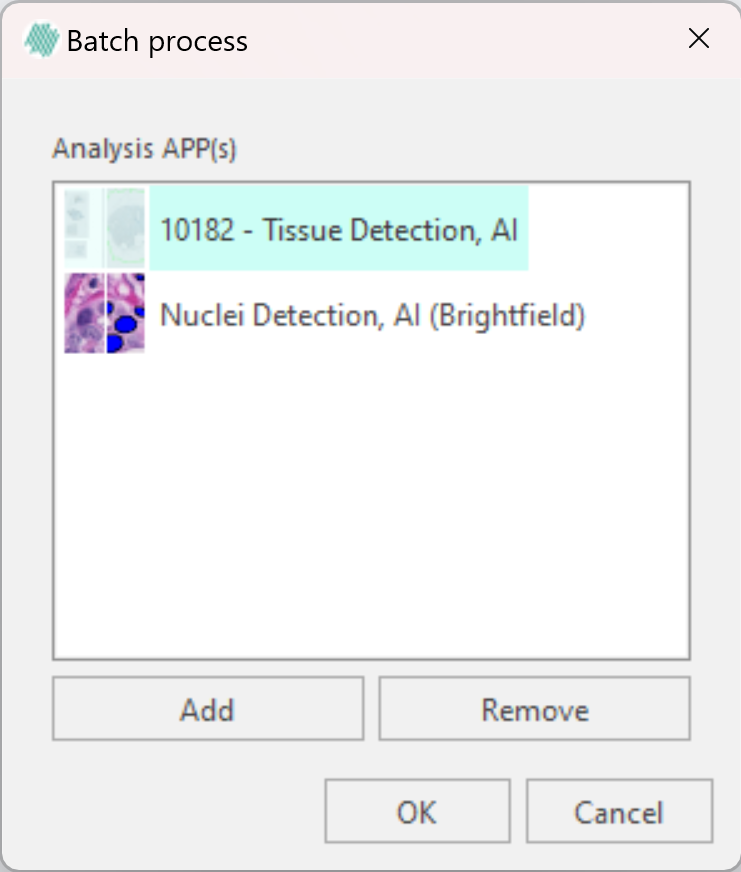
In the batch process dialog, select the APP(s) you want to use by clicking on Add and selecting the APP(s) in the APP selection dialog.
-
When you have added the APP(s) you want to use, click OK.
-
The images are now added to the queue, which processes the images in the background.
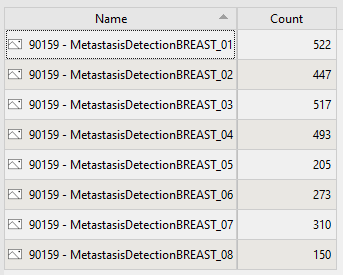
Results will automatically be added to the images within the study once the analysis has been finalized.
As the images are being processed, results will appear one-by-one. If you do not see any results and the queue has processed the images, try refreshing the database by selecting another folder. The results should now appear in the study once you go back.
APP Sequences
APPs can be linked together in a sequence of APPs executed after each other. A sequence of APPs can be selected from the batch process dialog.
An APP sequence is created manually in the file system by creating a folder which ends with ‘_Sequence’ or '_Seq' and adding the APPs to be used in the sequence as subfolders to the folder.
APPs in a sequence are executed in alphabetical order.
When an APP sequence is selected in the batch processing dialog the APPs contained in the Sequence are added to the list of analysis APPs.
Analyze folder(s)
-
Click on
. -
Navigate to the right folder in the navigation area.
-
Select the folder(s) you want to analyze.
Only the images directly underneath the folder will be analyzed, NOT the images located in subfolders within the selected folder
-
Right-click on it and select Run batch analysis.
-
In the batch process dialog, select the APP(s) you want to use by clicking on Add and selecting the APP(s) in the APP selection dialog.
-
When you have added the APP(s) you want to use, click OK.
-
The images within the folder(s) are now added to the queue, which processes the images in the background.
Batch export
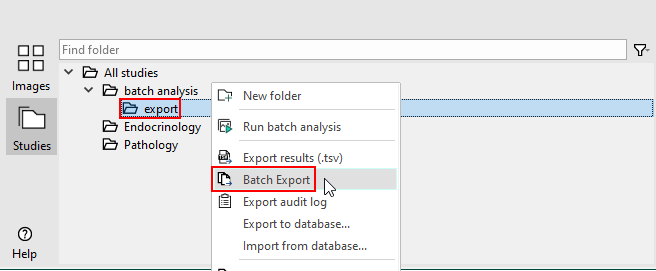
After you have analyzed a folder, you are able to export the data from each image in that folder.
- Right-click on the folder you wish to export data from in the database.
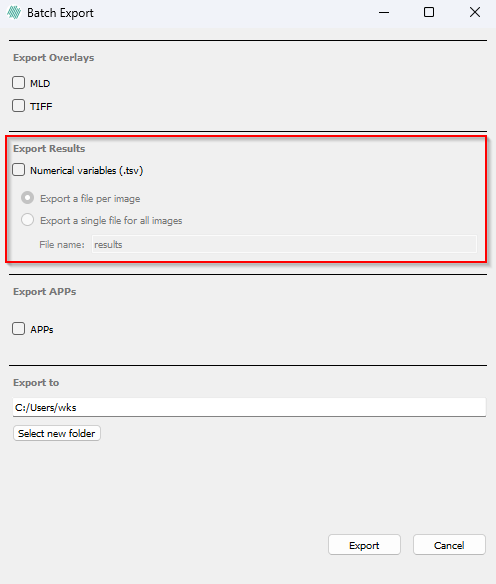
- In the new window, select which overlays, results, and APPS you want to export.

- To select whether your files will be saved individually or in a single .tsv file, select the option in this area:
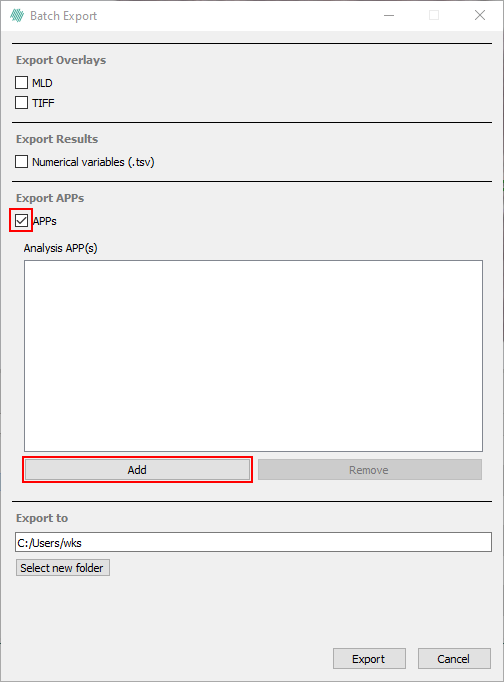
- To select which APPs to export, check the box next to APPs, and click 'Add'.
- Select the folder you wish to export the data to, and then click Export.
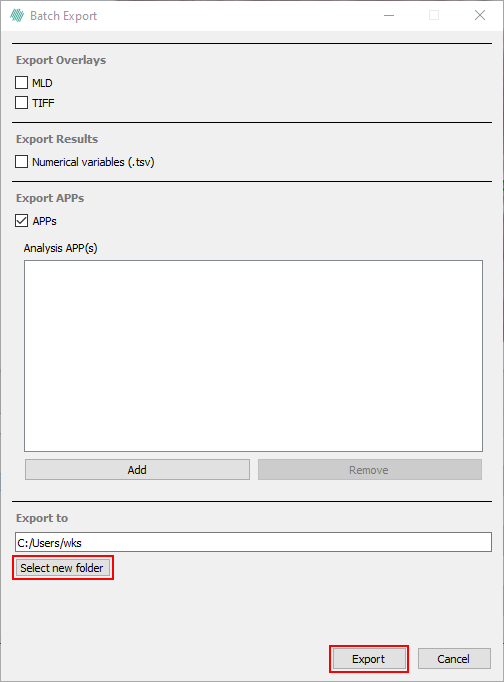
Your data should now be exported to the folder you selected.